Native plants can make your yard look intentional and stay manageable, but only if you match them to the site before you buy a single shrub. A plant that loves dry sun will struggle in a shady low spot. A tall grass that looks tidy in the nursery can swallow a walkway by midsummer. Site fit matters more than plant hype.
The real trick is planning for growth, structure, and upkeep from day one. That means knowing how wide a plant gets, how much cleanup it drops, and where you need year-round shape so the yard does not look thin in winter. Most “low-maintenance” yards fail because the plants were chosen for the label, not the lot.
A good native landscape should look calm in year three, not crowded in year one.
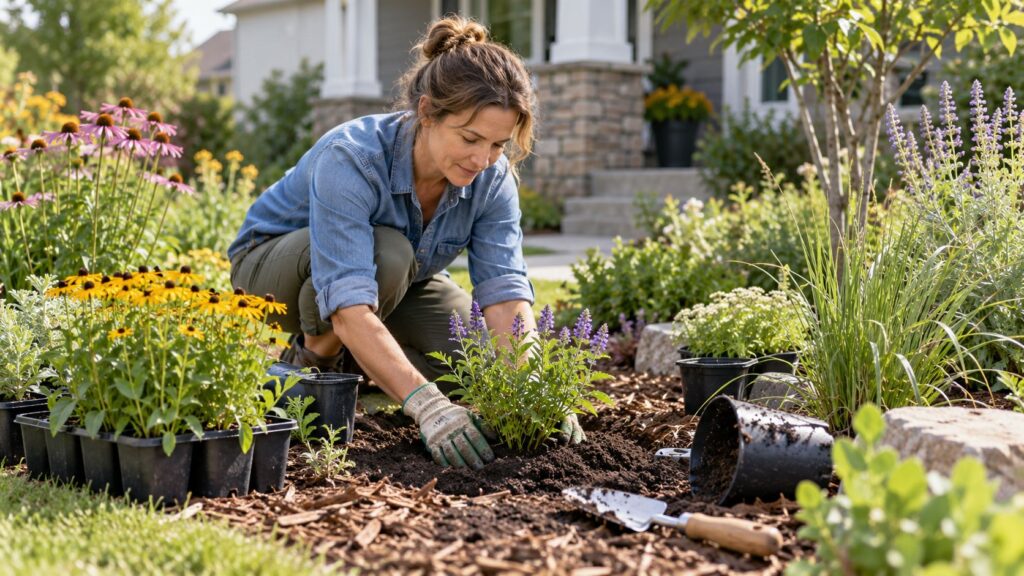
That is where a landscaper earns the money. You can handle simple planting and mulch. A pro should help with grading, bed layout, plant spacing, and the parts that keep the design from turning into a weekly chore.
Start with a simple site plan
Before you pick plants, walk the yard and mark the parts that actually matter. That means where the sun hits, where water sits after rain, where the soil stays dry, and where people cut across the grass every day.
A quick sketch on paper is enough. Draw the house, driveway, fence, beds, and any spots where you want to sit, grill, or let kids play. If a path gets used a lot, treat it like a path, not a planting bed. Traffic patterns tell you where plants will get trampled.
Then look at light in plain terms. A spot that gets hot afternoon sun needs different plants than a bed under a maple tree. Shade from the house is not the same as open shade from a tree canopy, and it changes through the day. If you are planning a low-maintenance landscape, this step saves a lot of guesswork.
Drainage comes next. After a heavy rain, notice where puddles last more than a few hours and where the ground slopes away from the house. Low spots can handle moisture-loving natives, but dry mounds need tougher plants. Drainage and slope shape what will live there, and what will rot.
A plant can be native to your region and still be wrong for your yard.
Do not skip the boring stuff. Check your soil texture by feel, and ask whether your HOA limits height, color, fence lines, or front-yard coverage. Some neighborhoods care more about curb appeal than drought tolerance. If you need broader inspiration, browse landscaping ideas for your yard after you know your limits.
Start small. One bed that fits the site is better than five beds that fight it. That is how you get a yard that looks planned without becoming a weekend job.
Key takeaways
- Map sun, shade, and wet spots before choosing any native plants.
- Use walkways and gathering areas to decide where plants should not go.
- Check slope, soil, and HOA rules so the design fits your yard and neighborhood.
Choose native plants by job
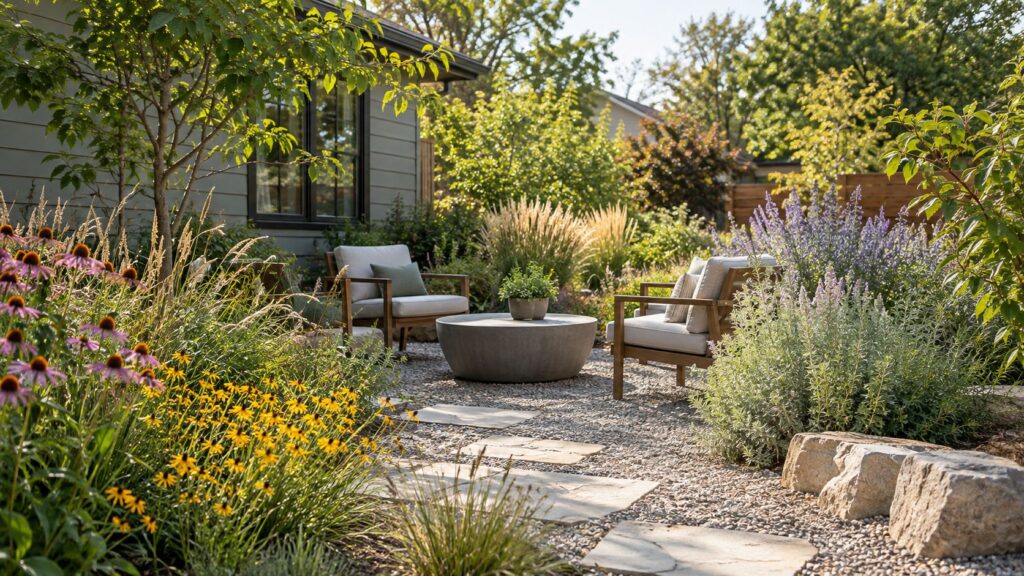
Good native design is less about collecting pretty plants and more about assigning roles. A yard looks calmer when each plant does one job well, instead of doing three jobs badly.
Start with structure plants. These are your anchors, the shrubs or small trees that hold the bed together in winter and keep the yard from looking flat. Put them where you need height, screening, or a clean backdrop near the house or patio.
Then add filler plants around them. These should knit the space together without bulking up too fast. Think in groups, not singles. Three to five of the same plant usually looks more intentional than a random mix of one of everything.
Groundcovers belong where you want living cover without constant mowing or edging. Use them under trees, along slopes, or in narrow strips where grass turns thin. Just give them room. A groundcover that spills into a walkway becomes a cleanup problem fast.
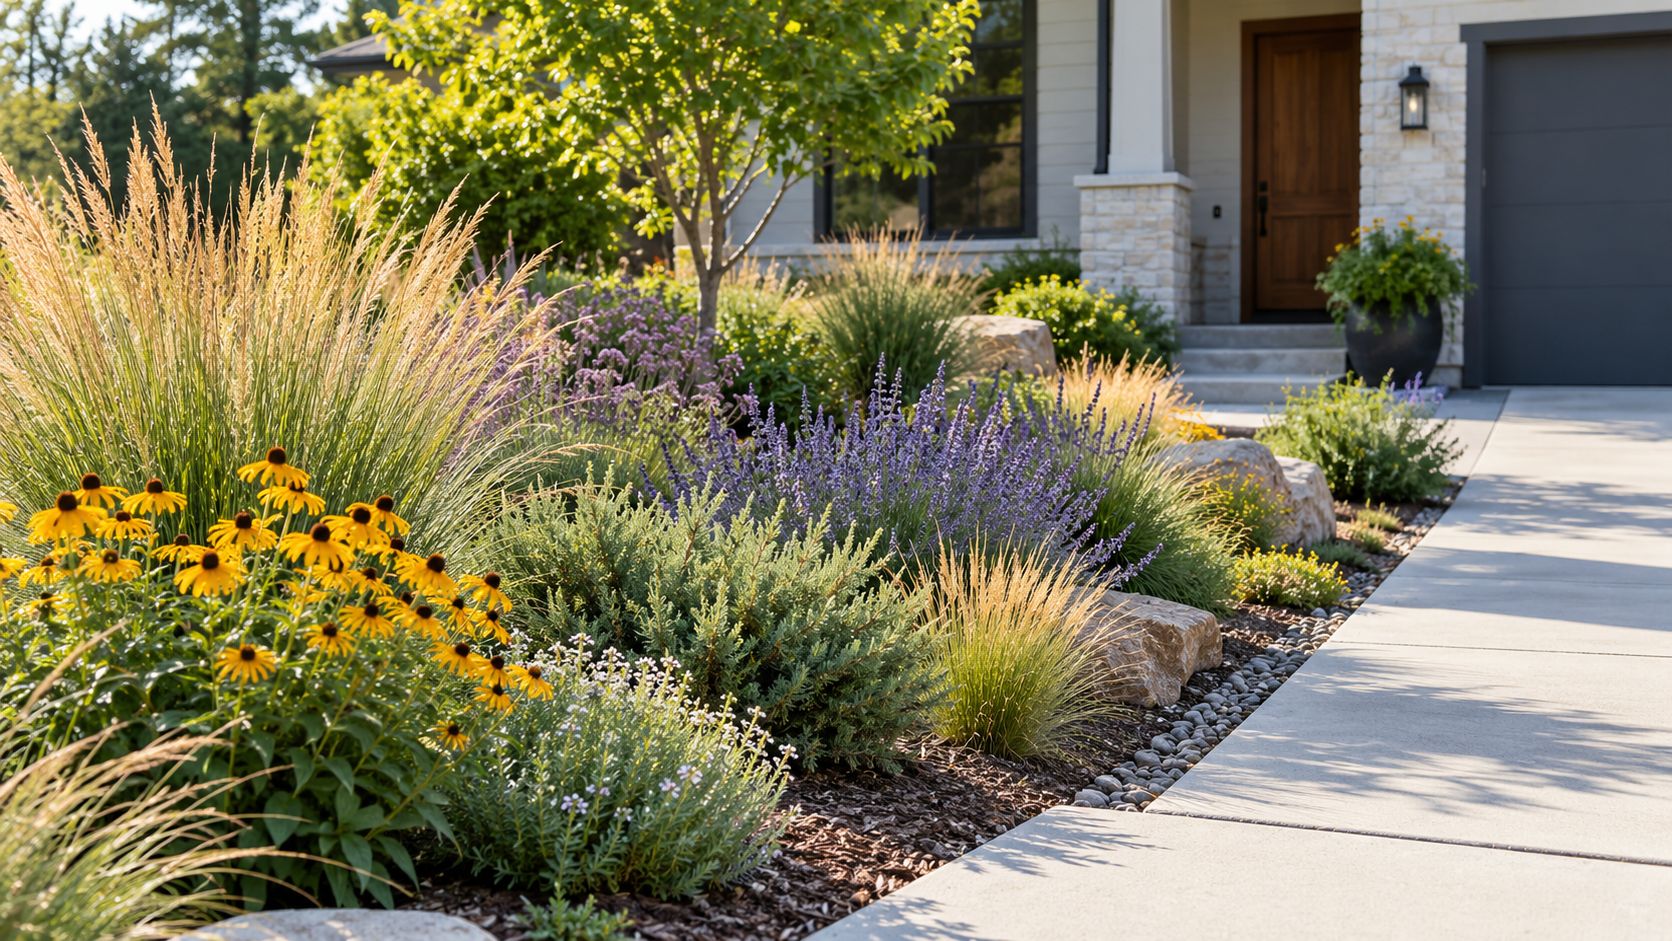
For color, pick regional natives that bloom at different times. That gives you interest without a bed that peaks for two weeks and then fades. If you want pollinators, cluster those plants in one or two beds instead of scattering them everywhere. A concentrated pollinator patch is easier to maintain and looks more deliberate.
A tidy native landscape usually comes from repetition, not variety.
Privacy is its own job. If you need screening along a fence or driveway, use plants that hold their shape and mature at the right height for your USDA zone and local conditions. Do not rely on fast growth alone. Fast growth often means more pruning later.
If you want help balancing plant roles with upkeep, a low-maintenance landscape usually starts with fewer plant types, repeated in the right places. That keeps the design readable and cuts down on guesswork.
- Structure: anchors, screening, winter shape.
- Filler: mass planting, spacing, soft transitions.
- Groundcover: bare soil, slopes, narrow edges.
- Color and pollinators: grouped bloom zones, seasonal interest.
- Privacy: taller natives matched to your site and zone.
When the plant list gets long, the bed usually gets messy. Keep the roles clear, repeat a few strong choices, and let the layout do the work.
Use layout rules that keep it tidy
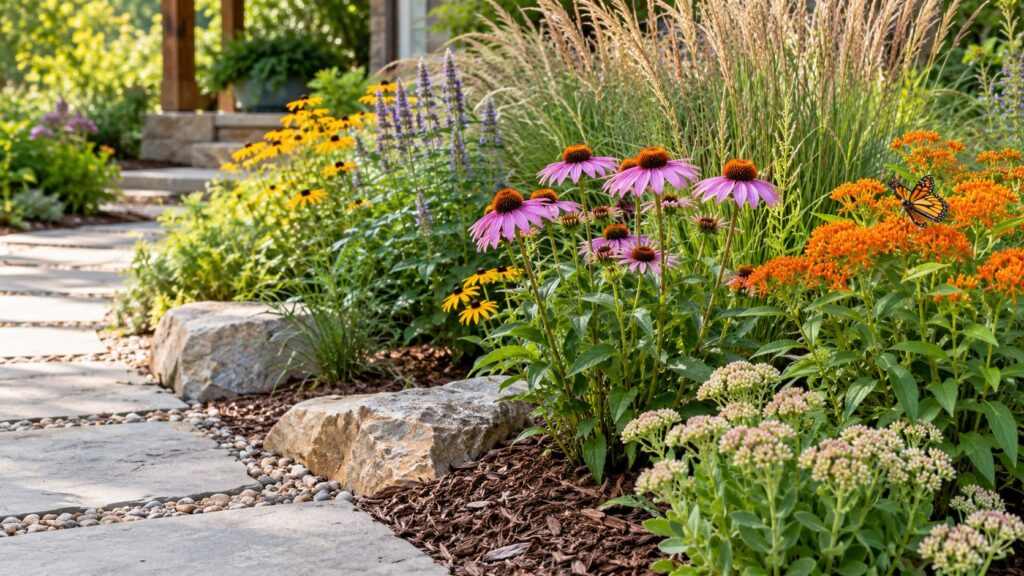
Native plants look best when the layout has a clear pattern. A bed full of one-offs can feel busy, even if every plant is a good choice for your zone. Repetition gives the eye something to follow.
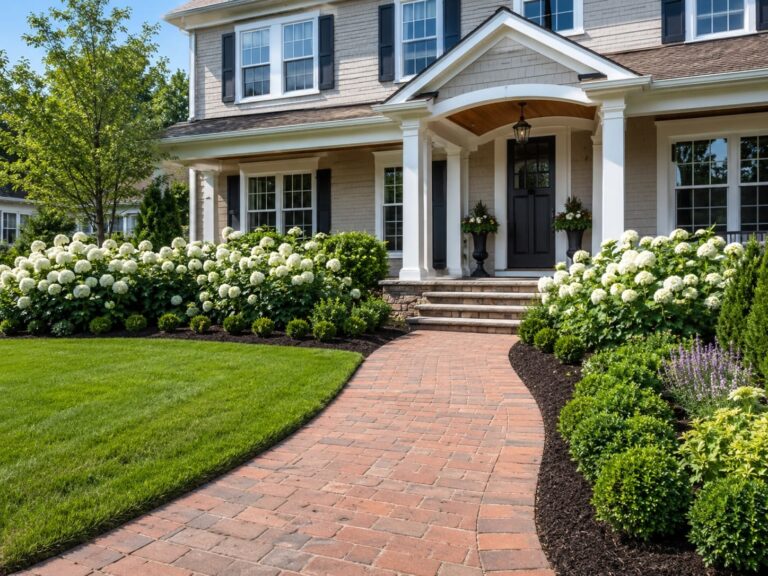
A simple rule helps: plant in threes, fives, or larger drifts. Three shrubs at the corner of a foundation bed. Five perennials along a walk. A wider sweep of the same groundcover under a tree. One lonely plant is usually the problem.
Repeat shapes, too. If one bed has rounded mounds, echo that shape elsewhere. If your walkway curves, soften the planting line with the same curve. Straight lines feel formal. Looser lines feel natural. Either can work, but mixing every shape at once makes the yard look accidental.
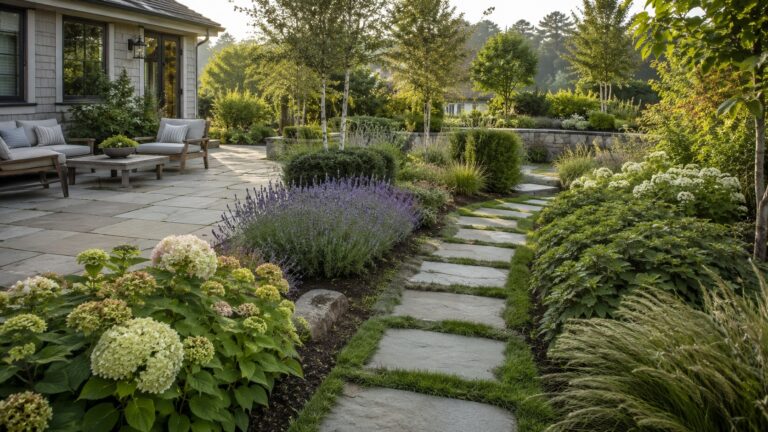
Borders matter just as much as the plants. A clean edge along a patio, driveway, or lawn keeps native beds from looking unruly. Pathways help frame the planting and give you a place to walk without cutting through the bed. If you are still planning the hardscape, this is where landscaping and garden design choices start to support the planting instead of fighting it.
A native bed can look wild in plant choice and still look formal in layout.
That is the sweet spot for a lot of suburban yards. You get the right plants for the site, but the structure still reads as planned. If you want a cleaner look with less trimming, pair native groupings with a simple border and fewer turns in the path.
| Option | Typical cost | Best for |
|---|---|---|
| Single specimen planting | $25 to $150 per plant | Accent spots, but it can look sparse if overused |
| Grouped native drifts | $150 to $800 per bed | Front beds, side yards, and a cleaner natural look |
| Formal border with native plants | $500 to $2,500+ depending on edging and plant count | Yards that need a neater, more finished appearance |
| Path and planting combo | $1,500 to $6,000+ if new walkways are included | Areas where you need access, structure, and easier upkeep |
Plan for growth and maintenance
Give each plant room for its mature size, not the size it had in the nursery pot. That means reading the tag, checking the spread at full growth, and leaving space for air and light. Tight spacing may look full on day one, but it usually turns into crowding, disease, and extra pruning.
Water deeply during the first season, then taper off as roots settle. A slow soak once or twice a week is usually better than a quick splash every day, especially in hot weather. If your soil drains fast, you may need to water more often. If it holds water after rain, hold back.
Mulch helps, but keep it practical. Two to 3 inches is enough for most beds. Pull it back a few inches from stems and trunks so you do not trap moisture where it can cause rot. Fresh mulch also makes a native bed look finished, which matters in a front yard.
Prune for shape, dead wood, and safety, not for constant control. Many natives look better when you let them keep a looser form through the season. Overpruning usually creates more work, not less. If a plant needs repeated cutting to stay in bounds, it is probably in the wrong spot.
The first two years are the establishment period. Roots are building, and the plant is learning your soil and sun. That is when a yard needs the most attention, even if the long-term plan is low upkeep. After that, the work usually drops to seasonal cleanup, a little pruning, and occasional thinning.
A native planting is easy to live with only after it has been set up with the right spacing, water, and drainage from the start.
Field note: this is where a landscaper should handle the parts that are hard to fix later, like grading, drainage, bed layout, and plant placement for mature size. You can usually handle watering, mulching, and light cleanup yourself. If you want the maintenance plan to stay realistic, keep the heavy site work tied to lawn care and garden maintenance and let the planting plan follow the site, not the other way around.
From the field
Most planting regrets show up after the first flush of growth, not on install day. I see the same mistake over and over, plants are chosen for how they look in the pot, then they outgrow the bed by the second or third season. Spacing, mature size, and drainage are the quiet details that decide whether a design still works after the excitement wears off. Those are cheap to get right up front, and expensive to correct later.
Avoid the mistakes that make natives look wild
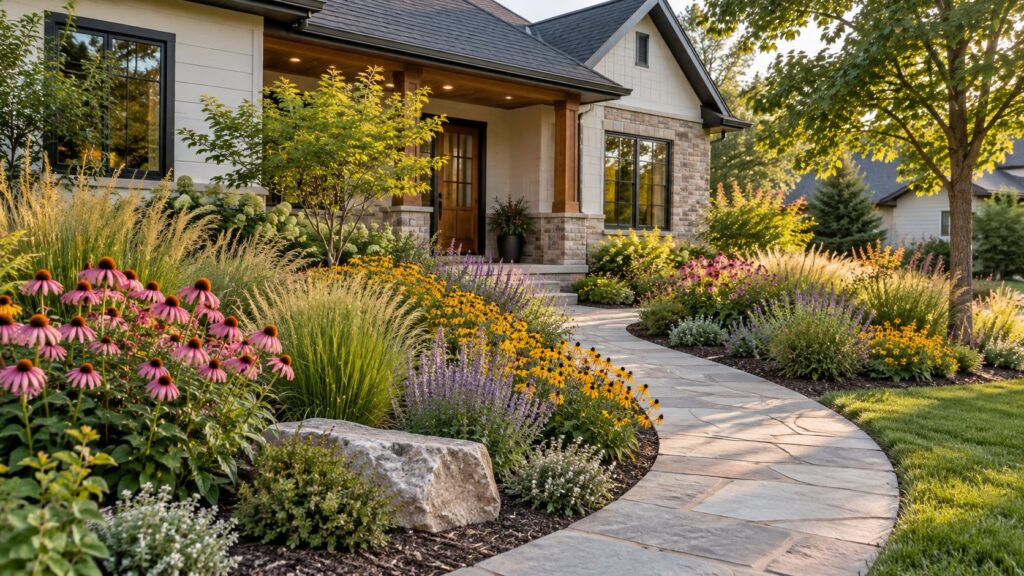
Native plants can look tidy and intentional, but a few common mistakes push them into “forgotten bed” territory fast. The biggest one is overcrowding. A plant that looks small in a 1-gallon pot may spread several feet wide once it settles in. If you pack everything tight, you end up with weak airflow, more pruning, and plants fighting for light.
Another problem is picking species that do not match your USDA zone, sun exposure, or soil moisture. A dry-slope plant placed in a damp low spot will struggle. A shade lover in full afternoon sun will burn out. That is not a design flaw, it is a site mismatch.
Bloom sequence matters too. If everything flowers at once, the bed looks great for two weeks and flat for the rest of the season. Mix early, mid, and late bloomers so there is always something carrying the design. That is how a yard stays interesting without constant replanting.
- Do not mix thirsty plants with drought-tolerant ones in the same watering zone.
- Do not place fast-spreading natives right against a narrow walkway or small patio.
- Do not assume the plant tag shows final size, it usually does not.
Some native perennials and grasses spread faster than homeowners expect. A clump that seems harmless in year one can take over a bed by year three if you never divide or thin it. That is why spacing and edge control matter as much as plant choice.
A native bed looks wild by design only when the plants are matched to the same light, water, and space conditions.
If you want help with the larger plan, start with landscaping and garden design decisions first, then sort out maintenance tasks later. The right layout keeps native plants looking deliberate even as they mature.
Common questions about native landscaping
Native landscaping works best when you treat it like a site plan, not a plant shopping list. Start with sun, drainage, and the amount of space you can actually maintain. Then group plants by water needs and mature size. That keeps the yard readable and cuts down on extra work later.
The rule of 3 is a simple design habit, use plants in odd-numbered groups, usually three, five, or seven. Repeating those groups helps a bed feel organized instead of random. It also makes it easier to repeat colors and textures across the yard without filling every inch.
A native yard looks intentional when the same few plants repeat in the right places, not when every corner has a different flower.
The 70 30 rule in garden planning usually means about 70% of the design should be dependable structure and 30% can be seasonal color or changeable planting. In plain terms, that means shrubs, grasses, and groundcovers do most of the work, while flowers add the interest. That balance is easier to maintain.
Native plants help because they are generally better matched to local climate, soil, and rainfall patterns. That does not make them maintenance-free. It usually means less watering once established, fewer plant losses from bad site matches, and a landscape that fits your region instead of fighting it. That is the real payoff.
How do you design native landscaping?
Design native landscaping by starting with the site, then choosing plants that fit each zone. Map sun, shade, wet spots, and dry spots. Use repeating plant groups, leave room for mature size, and put the strongest structure near the house and walkways. Keep the planting simple enough that you can maintain it.
What is the rule of 3 in landscaping?
The rule of 3 means using plants in groups of three or other odd numbers to create balance and rhythm. It helps the eye read the space as planned, not scattered. In a suburban yard, that might mean three shrubs by the corner, or five grasses along a walkway.
Why use native plants in landscaping?
Native plants are used because they are adapted to local conditions and often need less handholding after they establish. They can support pollinators and fit the look of the region better than many imported ornamentals. They still need correct placement, though. A native plant in the wrong soil or sun exposure will still struggle.
What is the 70 30 rule in gardening?
The 70 30 rule usually means 70% of the garden should be reliable, long-lasting structure and 30% can be flexible or seasonal. That keeps the yard from feeling busy or high maintenance. For native landscapes, the 70% is often shrubs, grasses, and groundcovers, while the 30% is flowering perennials.