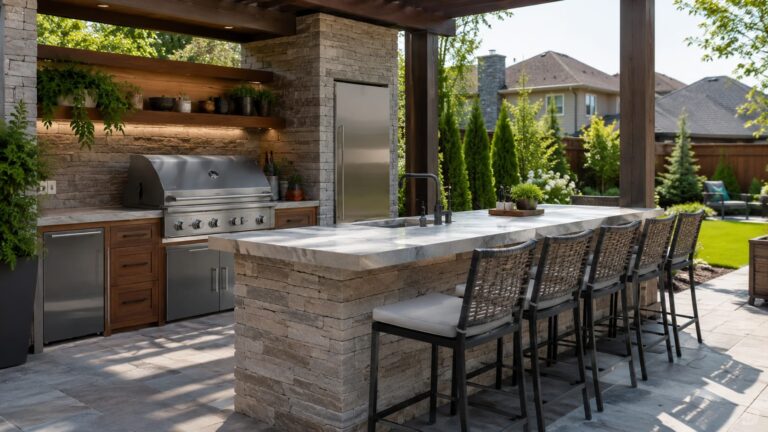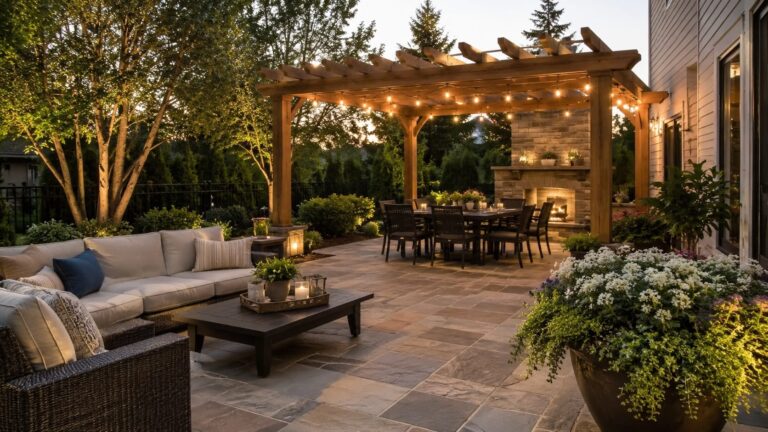
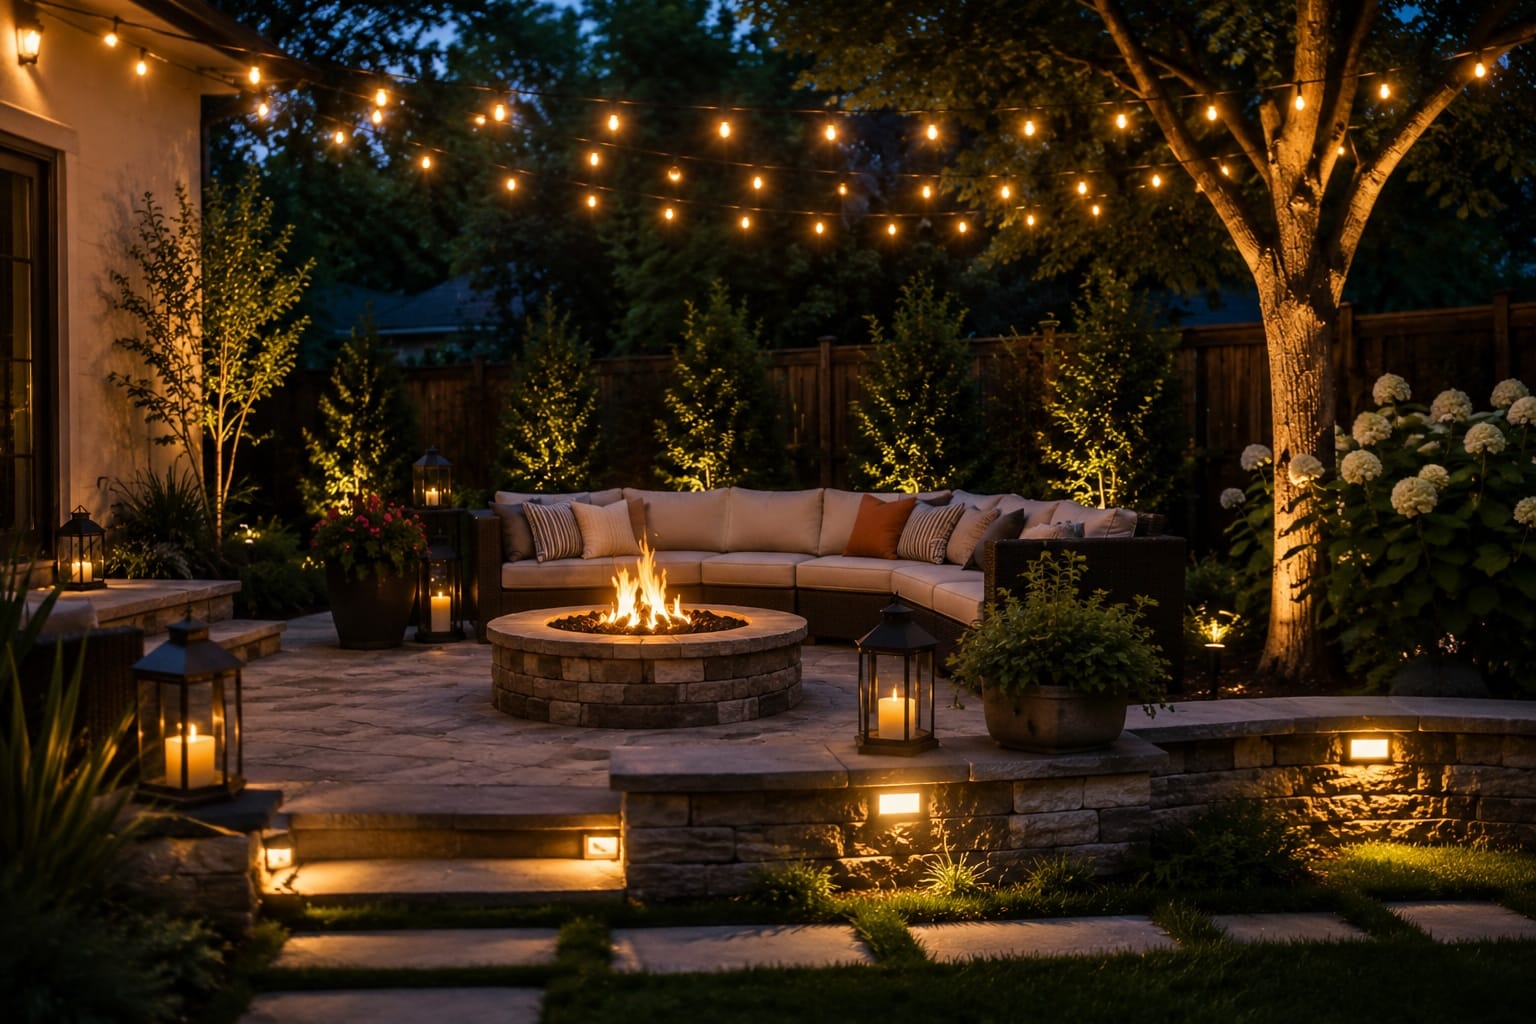
Your backyard probably does not need a full makeover, it needs the right light in the right places so you can actually use it after dinner.
Most unused yards have the same problem. They feel dark, disconnected, or a little awkward once the sun drops. That makes even a nice patio seem off limits. Good outdoor lighting changes that fast. It helps you see where to walk, where to sit, and where the space ends, which is often what your yard has been missing all along.
You do not need to light everything. A few well-placed fixtures can do more than a dozen decorative ones. The trick is matching the light to how you live, your lot, and your budget. That is where a lot of Pinterest ideas fall apart.
Start with how you want to use it
Before you think about fixture types or bulb color, decide what your backyard needs to do on a normal weeknight. A yard used for grilling needs different light than one used for quiet sitting, kids’ play, or walking from the back door to the garage.
That sounds simple, but it saves you from lighting areas you never use. If you only sit on the patio, start there. If you carry trash cans, water plants, or let the dog out after dark, those paths matter more than a decorative tree light. Lighting should follow real habits, not a Pinterest board.
The best backyard lighting usually solves one job first, then a second job later.
Try to pick one clear use case before you spend a dollar. A 12 by 14 foot patio might need soft light at the table, while a side yard path only needs enough light to keep you from missing a step. You do not need the whole yard lit up like a parking lot.
If your backyard has more than one purpose, start with the one you use most often between 5 p.m. and 9 p.m. For many homeowners, that is the seating area or the grill. For others, it is the route kids take across the yard. If you are still sorting out the layout, planning an outdoor living space can help you match light to the way the space is actually used.
One clear use case makes the rest of the project easier. It tells you where the light belongs, how bright it should be, and what you can skip for now.
Key takeaways
- Pick the main backyard activity you want after dark before choosing any fixtures.
- Light the paths, steps, and seating area you use most on weeknights.
- Skip decorative zones until the spaces you actually walk through feel safe and comfortable.
The lighting jobs that matter most
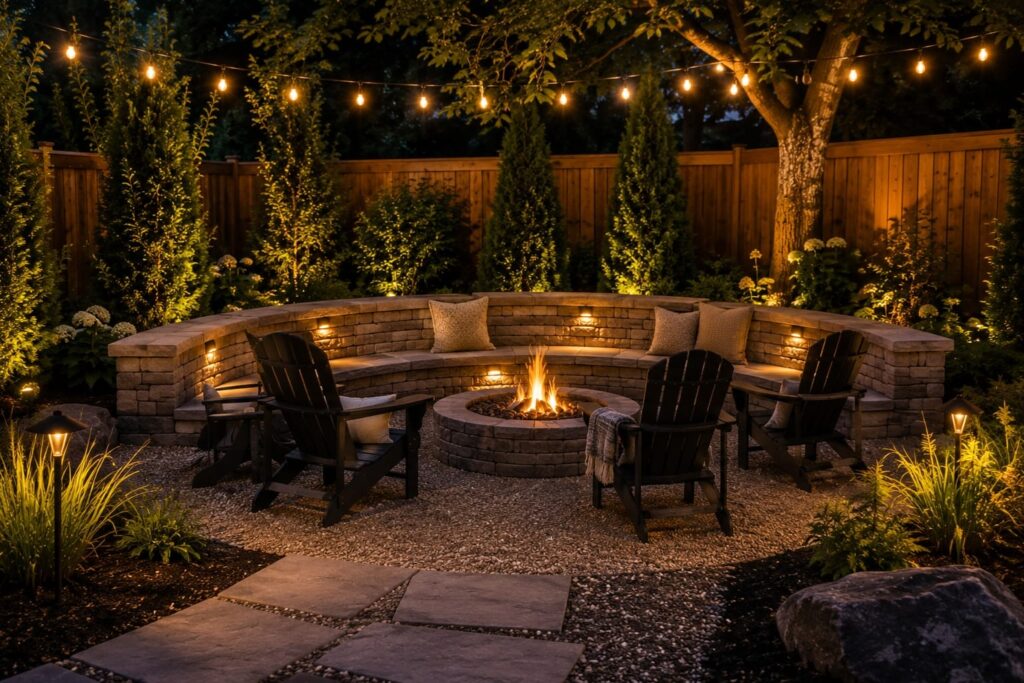
Backyard lighting works best when each fixture has a job. That job might be keeping you from tripping on a step, helping you see the grill, or making a seating area feel calm after dark.
Safety lighting is the first job to handle. Think paths, stairs, changes in grade, and the route from the back door to the garage or gate. If you have kids, older guests, or a dog that bolts for the fence, this matters even more.
Task lighting is next. This is the light you need to cook, set down drinks, unlock a door, or water plants without guessing. A small patio can feel fully usable with just one or two focused fixtures in the right spots.
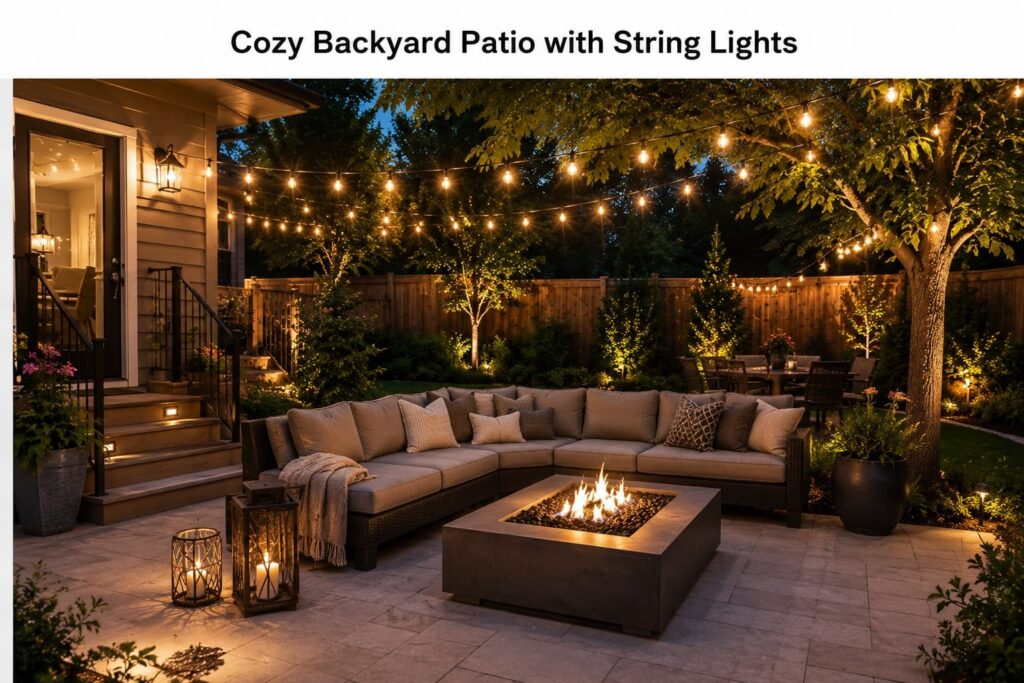
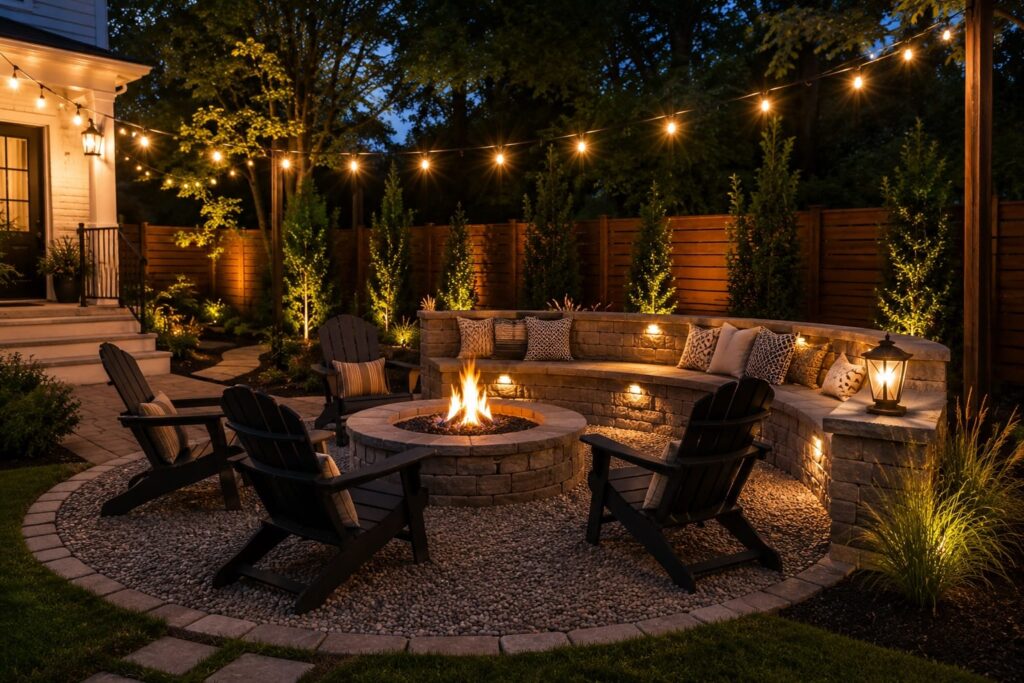
Then there is ambient lighting, the softer layer that makes the yard feel comfortable instead of harsh. This is where string lights, low wall lights, or shielded fixtures near a seating area can help. Too much brightness kills the mood fast.
Feature lighting is the most optional. It highlights a tree, a stone wall, or a garden bed. It can look great, but it should come after the basics. If you are still figuring out layout and flow, planning an outdoor living space can help you decide what deserves light first.
If a light does not help you walk, sit, cook, or relax, it is probably decoration, not a need.
That distinction saves money. A homeowner with a 400 square foot patio may only need two or three layers of light, while a larger yard might need a few more zones. You are trying to make the space usable, not flood every corner.
| Option | Typical cost | Best for |
|---|---|---|
| Path and step lights | $150 to $800 | Safe movement on walkways, stairs, and edges |
| Patio and seating area lights | $200 to $1,500 | Dining, conversation, and evening use |
| Accent or feature lighting | $100 to $1,000 | Trees, walls, plants, and focal points |
| Low-voltage wired system | Larger yards, cleaner look, more control |
Simple outdoor lighting ideas that work
Path lights are the easiest place to start. Use them along walkways, steps, or the edge of a patio where people actually move after dark. They should guide you, not glare into your eyes.
String lights fit best over a seating area, a pergola, or a small patio with a clear overhead line. They make a space feel finished without much effort. They do not work as the main light for cooking, stairs, or a long path. Pretty is fine. Useful matters more.
Wall lights make sense near a back door, garage entry, or covered porch. They give you steady light where you need to unlock a door, carry dishes, or check the grill. On a blank fence line, though, they can feel wasted unless there is a real use nearby.
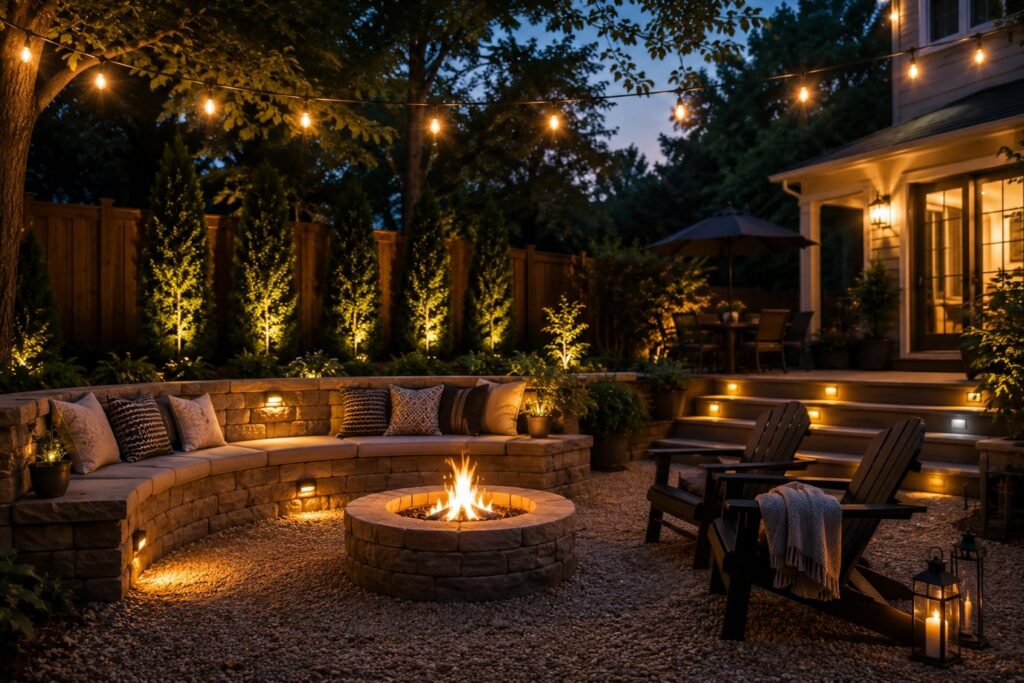
Uplighting is best used sparingly. One well-placed fixture on a tree or stone wall can add depth and make the yard feel larger at night. Too many uplights start to look busy fast, and they are easy to overdo on a small lot.
Low-voltage landscape lighting is the most flexible option for a bigger yard or a yard with several zones. It can cover paths, planting beds, and seating areas in one system, which is why it often shows up in backyard design ideas for smaller homes where every foot has to work hard. It usually costs more than a few plug-in lights, but it gives you a cleaner look and better control.
- Use path lights for movement.
- Use string lights for atmosphere over a sitting area.
- Use wall lights near doors and work areas.
- Use uplights only for a feature you want to notice.
- Use low-voltage lighting when you need several zones to work together.
The best lighting plans are usually plain ones. They put light where people walk, sit, and carry things, then stop before the yard starts to feel overbuilt.
From the field
The backyards that get used most are usually the ones where the lighting matches the real routine, not the sketch on paper. People often buy furniture first, then realize the seating area sits in hot afternoon sun and the closest door is too far for carrying food or drinks. Once shade, seating, and the route from the kitchen are handled, lighting starts doing its job instead of just looking nice. That is why a modest plan often gets more use than a bigger, prettier one.
What to check before you buy fixtures
Before you spend on fixtures, check the power source first. Some yards can handle a simple plug-in setup. Others need a low-voltage transformer, a new outdoor outlet, or a hardwired run from the house. That choice affects cost, appearance, and how much work is involved.
Weather rating matters too. Fixtures need to be listed for outdoor use and suited to your climate, especially if you get heavy rain, snow, salt air, or long stretches of heat. A cheap light that fails after one season is not a bargain.
Brightness is another place people overspend. More lumens are not always better. A path light should help you see the edge of a walk, not wash out the whole yard. Glare is what makes outdoor lighting feel harsh. Look for fixtures that point light down or shield the bulb.
If you live in an HOA community, check the rules before you buy a dozen lights. Some neighborhoods limit fixture style, color temperature, placement, or visible wiring. Local permits can also come into play if you are adding new wiring, trenching, or tying into the home’s electrical system. A basic plug-in setup is usually simpler. A hardwired project is a different job.
Here is a practical way to sort it out:
- DIY-friendly: solar lights, plug-in string lights, and some low-voltage kits for a small patio.
- Call an electrician: new outlets, hardwired wall lights, trenching, or any setup near code-sensitive areas.
- Check first: HOA rules, permit requirements, and whether your lot has enough dry, stable ground for safe installation.
For a small yard, simpler often works better. If you are planning a tighter layout, backyard design ideas for smaller homes can help you match the lighting to the space you actually have.
The expensive mistake is usually not the fixture itself, it is buying lights before you know how they will be powered, protected, and maintained.
If the yard is simple and the wiring stays basic, DIY can make sense. If the plan involves new electrical work, wet locations, or a lot of digging, bring in a pro. That is often where the real savings are.
A backyard lighting plan that grows
You do not need to light the whole yard on day one. Start with one zone that you actually use, like the back steps, a small patio, or the path from the door to the grill.
One good zone tells you a lot. You will see where the dark spots are, how much light feels comfortable, and whether the fixture placement works after a few nights. That is a safer way to spend money than buying a full set and hoping it fits your lot.
A simple test plan works well:
- Pick one area you use after sunset.
- Add the light that solves that area first.
- Live with it for a week or two.
- Notice what still feels awkward, too bright, or too dark.
- Only then add the next layer.
This approach helps with budget, too. A small project might stay in the $100 to $500 range if you are using basic plug-in or solar lights. A larger low-voltage setup can run into the $1,000 to $3,000 range or more once you add wiring, fixtures, and labor. You do not have to spend that all at once.
That matters if your yard already has a few problems. Maybe the seating area gets used only in spring, or the side yard is narrow and hard to wire. Maybe the HOA wants tidy fixtures, or your soil makes trenching a pain. Starting small keeps the plan flexible.
The yards that get used most are usually built in layers. First the path works, then the sitting area works, then the rest of the yard earns its place.
If you are still figuring out the layout, planning an outdoor living space can help you decide where light should go first. For tighter lots, backyard design ideas for smaller homes can keep the plan realistic.
Common outdoor lighting questions
Most homeowners do not need a complicated setup to get better use out of the yard. They need lights that are easy to turn on, easy to live with, and placed where people actually walk and sit.
Remote control is handy if you want to switch lights on from inside, from the patio, or on a timer. Many plug-in and low-voltage systems can use a wall switch, a timer, a smart plug, or app control. The best option is the one you will use without thinking about it.
A common mistake is lighting everything at once. That usually creates glare, wasted money, and a yard that feels flat instead of usable. Another mistake is putting lights where they look good in daylight but do nothing at night. Porch lights, path lights, and step lights should solve a real problem first.
If you can see the fixture more than the space it is meant to light, the plan probably needs work.
How can I control my outside lights remotely?
You can control outside lights remotely with a smart plug, a timer, a wall switch, or a smart lighting system. For many yards, a simple timer is enough. If you want control from your phone, make sure the fixtures and power setup support that before you buy. That keeps the system practical instead of fussy.
What are common outdoor lighting mistakes?
The biggest mistakes are too much brightness, bad placement, and mixing too many fixture styles. People also skip weather ratings, ignore glare, or assume solar lights will work well in full shade. Another frequent problem is lighting the whole backyard before fixing the one area people use most after dark.
Why are people leaving porch lights on?
People leave porch lights on because they want to feel safer, see the entry clearly, and make the house look occupied. It also helps guests, delivery drivers, and family members coming home after dark. A porch light is often the simplest part of a backyard lighting plan, but it should still be aimed carefully so it does not shine into windows.
How to light up an entire backyard?
You should layer the light instead of trying to flood the whole yard with one bright source. Start with the entry, steps, and main path, then add light near seating, grilling, or a side gate. Use a mix of ambient light, task light, and a little accent light. That gives coverage without making the yard feel harsh.
Do I need to light every corner of the yard?
No, you do not need every corner lit. Empty edges can stay darker as long as the parts you use are safe and comfortable. Most yards work better with a few well-lit zones than with full coverage. That approach also keeps the budget lower and makes maintenance easier.