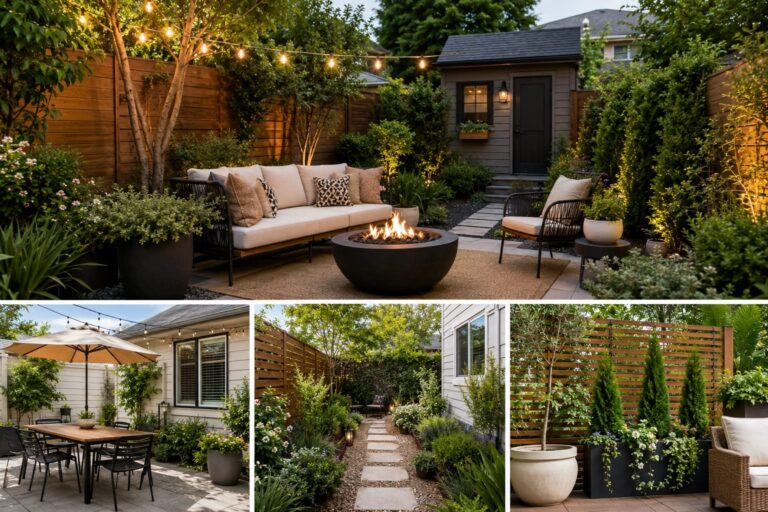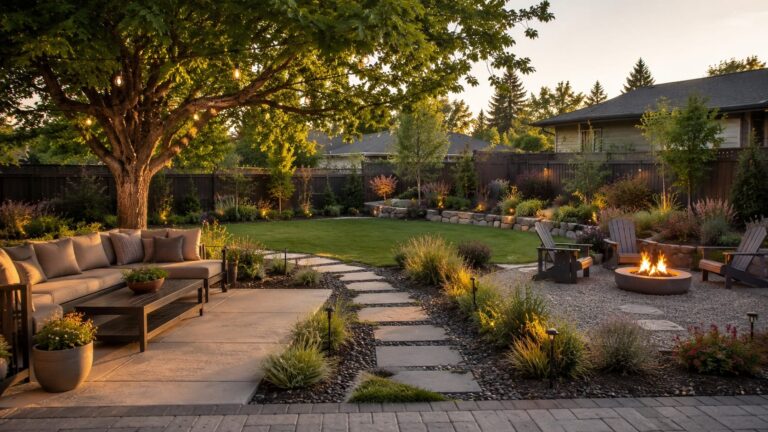
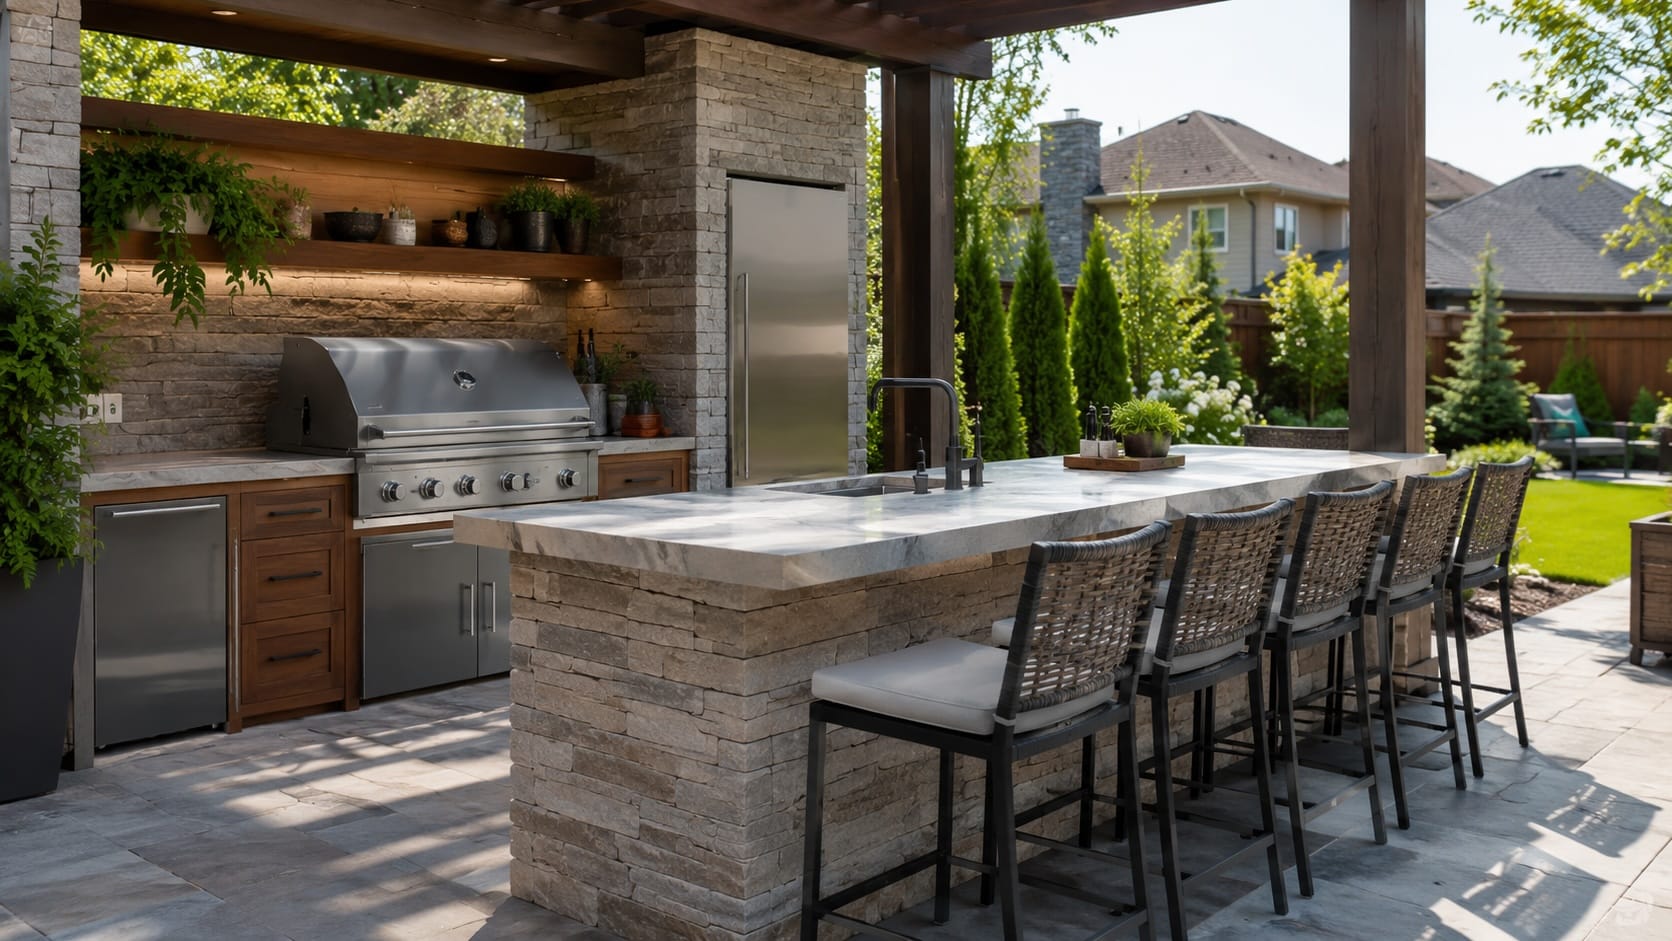
An outdoor kitchen sounds simple until you start pricing it, placing it, and trying to use it on a windy Tuesday night. Most yards do not fail because they lack style. They fail because the cooking area is in the wrong spot, too exposed, or too far from the house to use often.
You do not need a big build to get real value. You need the right location, enough counter space to set down a tray, and a layout that fits how you actually move between the back door, grill, and seating. If the yard stays empty now, the problem is usually comfort and convenience, not inspiration.
A good outdoor kitchen is the one you use after work, not just the one that looks good in a photo.
That means thinking about shade, drainage, gas or electric access, and local rules before you spend thousands. Pretty is easy. Usable is where the real planning starts.
Start with how you will use it
Before you pick a grill or build a counter, decide what this space is supposed to do on a normal weeknight. If you only cook outside twice a month, you do not need a full chef setup. If you want to host neighbors, you may need more prep space, better lighting, and a place for people to sit without crowding the cook.
Use drives cost. A simple grilling zone, a sink, and a small counter can be enough for many yards. A pizza oven, beverage fridge, and bar seating sound nice, but they add wiring, plumbing, and maintenance. That is where the bill climbs fast.
Start by naming the real job of the space:
- Quick dinners after work, with a grill close to the back door.
- Weekend entertaining, with room for serving and a few stools.
- Family hangout time, with shade, seating, and space to move around.
- Serious cooking, with storage, prep space, and utilities planned in advance.
If the goal is mostly convenience, keep the layout tight and practical. If the goal is longer meals outside, comfort matters more than extra appliances. A 10 by 12 foot setup can work well for basic use. A larger patio may make sense if you need circulation space around the cook and guests.
The best outdoor kitchen is sized for the way you live, not the way a photo looks.
Once you know the job, the rest gets easier. You can compare features against real use instead of chasing every idea that looks good on Pinterest. If you are still mapping out the bigger picture, planning an outdoor living space helps you sort comfort, traffic flow, and budget before you build.
Key takeaways
- Choose the main job first, then size the kitchen around that use.
- Skip appliances you will rarely clean, maintain, or actually turn on.
- Plan seating, prep space, and traffic flow before adding extras.
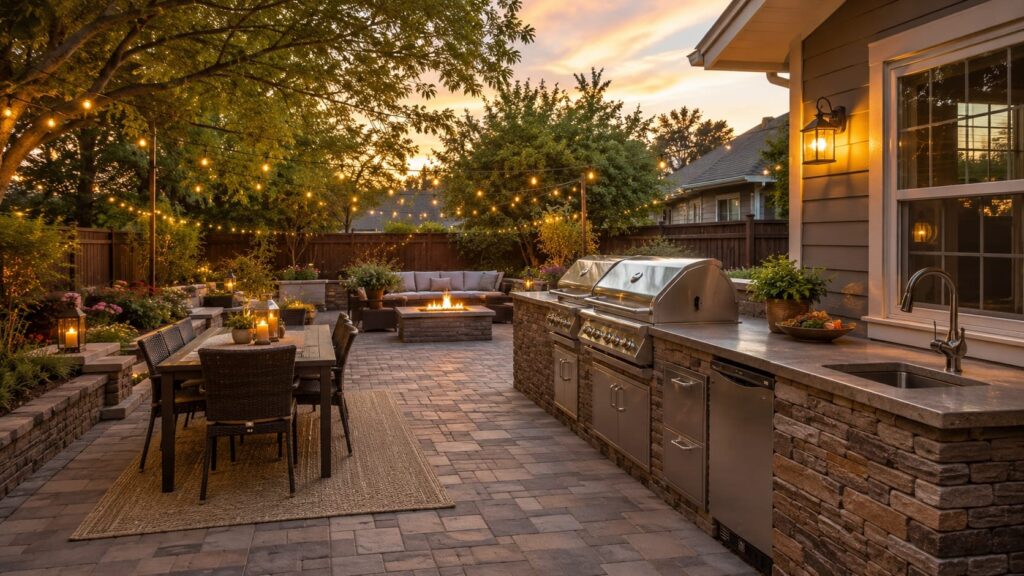
Choose a layout that fits your yard
Layout is where a lot of outdoor kitchens go wrong. The grill, prep counter, and dining area may all be useful, but they should not fight for the same space. You need room to open a grill lid, carry a tray, and pass behind someone without turning the whole patio into a traffic jam.
Start by looking at the shape of your yard, not the idea in your head. A long narrow patio usually works better with a straight run of cabinets and a separate table nearby. A wider yard may support an L-shaped setup that keeps cooking on one side and seating on the other. If your patio is only about 10 by 12 feet, keep the plan simple. Small spaces need clear jobs, not extra features.
Clearance matters more than most people expect. Leave enough room for cabinet doors, grill lids, and normal movement around the cook area. If people will sit nearby, give them a little buffer so smoke, heat, and foot traffic do not pile up in one spot. Tight layouts feel cramped fast.
Think about how the dining area connects to the kitchen. If the table is too far away, you end up walking back and forth with plates, drinks, and napkins. If it is too close, guests crowd the cook. The best setup usually keeps the serving path short and the seating just far enough away to feel comfortable.
- Put the grill where smoke will not blow straight into the seating area.
- Keep a clear path from the back door to the patio.
- Allow space for chairs to pull out without blocking walkways.
- Avoid placing cooking stations where doors, gates, or yard slopes create bottlenecks.
A layout that feels easy to move through will get used far more often than a bigger one that looks impressive but works poorly.
If you are unsure where the dining area should sit, planning an outdoor living space can help you sort traffic flow before you build. Yard shape, patio size, and furniture placement all affect whether the kitchen feels like part of the home or just a separate project sitting off to the side.
Know what drives outdoor kitchen cost
The biggest price swing usually comes from size. A compact run with a grill, a small counter, and basic storage can stay far more manageable than a full setup with multiple appliances and a long prep surface. Once you start stretching the footprint, you also pay for more framing, more finish material, and more labor.
Materials matter next. Concrete, stone veneer, stainless steel, tile, and outdoor-rated cabinets all land in different price ranges. Some hold up well in heat and rain. Others need more care or wear out faster in freeze-thaw climates. If you live where winters are rough, that choice affects your long-term cost more than the photo does.
Utilities can change the budget fast. Running gas, electric, or water to the patio often costs more than the appliances themselves. If the site is far from the house, or the panel is already full, the work gets more involved. That is where a simple plan starts to look a lot smarter.
For many homeowners, the best first step is a built-in grill only if the rest of the space is ready for it. A built-in makes sense when you already know the layout, have a solid patio, and plan to use the kitchen often. If you are still testing how much you will cook outside, a freestanding grill on a good surface may be the safer starting point. It is easier to add later than to rip out a mistake.
The most expensive part of an outdoor kitchen is often the part nobody sees, like gas lines, electrical work, drainage, and the base under the patio.
If you are still sorting the bigger picture, planning an outdoor living space can help you line up the kitchen with seating, traffic flow, and shade before you commit to built-ins.
| Option | Typical cost | Best for |
|---|---|---|
| Freestanding grill on a patio | $500 to $3,000 | Testing how often you really cook outside |
| Built-in grill with basic counter | $3,000 to $10,000 | Regular use with a cleaner, more finished look |
| Full outdoor kitchen with sink and storage | $10,000 to $30,000+ | Frequent entertaining and longer cooking sessions |
| Utility upgrades, gas, electric, water | $1,000 to $8,000+ | Projects that need real hookups, not just a grill |
Plan for weather, codes, and upkeep
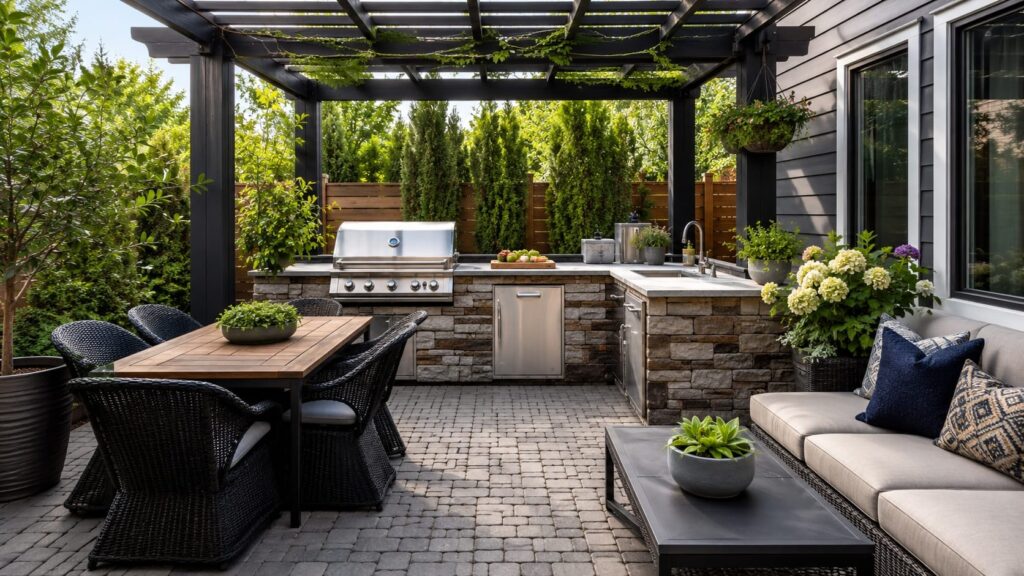
A backyard kitchen has to work in your local conditions, not just in a photo. In a hot climate, stainless steel can get too hot to touch. In freeze-thaw areas, water left in a line or seam can cause trouble fast. If your yard holds water after rain, fix that first or you will be building around a problem that keeps coming back.
Local rules matter too. Some towns want permits for gas, electric, or plumbing. Many HOAs care about screen walls, roof structures, and how close equipment sits to the property line. If you are in a neighborhood with strict guidelines, check those before you order anything. That step is boring, but it saves expensive do-overs.
Maintenance should match how much time you really want to spend outside. A simple setup with a grill, counter, and a few covered storage areas is easier to keep clean than a full kitchen with drawers, sinks, and multiple finishes. If you want a design that stays practical, keep the surfaces easy to wipe down and avoid details that trap grease, leaves, or standing water. For a broader view of how the yard ties together, outdoor living and backyard design can help you think through the whole space before you commit.
One more thing, think about seasonal use. In many parts of the US, a kitchen that sits in full sun from 3 p.m. to 7 p.m. gets used less than a smaller setup with shade and a clear walk from the back door. Comfort drives use. So does convenience. If the space feels like extra work, it will collect dust instead of dinner.
From the field
The projects that get used every day usually solve three things first, shade, seating, and the distance from the kitchen door. I see homeowners spend money on furniture and finishes before they check where the afternoon sun actually lands. That is how a patio looks finished and still sits empty from May through September. A good plan starts with the hours you will actually be outside, not the hour the space looks best in a photo.
Pick features that earn their keep
Start with the parts you will use every week, not the parts that look best in a rendering. For most homeowners, that means counter space, a place to set hot pans, and a simple path from the kitchen door to the grill.
Storage is useful, but only if it solves a real problem. A weather-safe cabinet for tools, propane, or cleaning supplies can keep the area tidy. Deep drawers and extra doors sound nice until you are the one wiping them down after every rain.
If you are choosing between upgrades, use this order:
- Shade, from a pergola, umbrella, or roof extension if the space gets harsh afternoon sun.
- Lighting, so you can cook after dark without balancing on porch light spill.
- Counter space, enough for prep, serving, and a tray or two.
- Storage, only for the items you truly want outside.
- Sink, if you will rinse produce, wash hands, or clean up often enough to justify the plumbing.
A sink is a nice upgrade, but it is rarely the first thing that makes a backyard feel usable. In a smaller budget setup, a grill, a 6 to 8 foot counter, one covered storage cabinet, and a good light over the work area can carry most of the load. That is often enough for a 10 by 12 foot space.
A backyard kitchen gets used when it feels easy, not when it checks every box.
If your yard is tight, keep the plan simple and pair it with backyard design ideas for smaller homes that leave room to walk, sit, and breathe. A compact setup with one strong work zone usually beats a crowded layout with features you rarely touch.
For a full-yard view, planning an outdoor living space helps you place the kitchen where it supports the rest of the patio instead of fighting it. That is where comfort starts.
Common questions before you build
The biggest mistakes are usually simple. People build too far from the house, skip shade, or choose finishes that look good but are hard to keep clean. Another common miss is planning for power, gas, and drainage after the design is already set. That gets expensive fast.
Before you build, think about how you will use the space on an ordinary weeknight, not just during a party. Check the walk from the back door, the amount of afternoon sun, storage needs, and whether the ground stays dry after rain. Pretty plans do not fix a muddy yard.
If the space is uncomfortable to stand in for 20 minutes, you will not use it much.
What are common outdoor kitchen mistakes?
Common mistakes include poor placement, too little prep space, and forgetting about weather. Homeowners also overspend on extras before covering the basics. A grill without a landing area, lighting, or shade often gets used less than a simpler setup that feels easy to work in.
What should I consider when building an outdoor kitchen?
Start with layout, climate, local code, and how often you cook outside. You also need to think about water, gas, electric, drainage, and how close the kitchen sits to the house. If your yard has HOA rules or permit requirements, check those before you buy materials.
What are the must-haves in an outdoor kitchen?
The must-haves are a cooking surface, counter space, and a safe place to move food and tools. Good lighting matters too. In many yards, shade and a short walk from the house matter more than a sink or a built-in fridge. Those basics make the space practical.
What is the average cost to build an outdoor kitchen?
Costs vary a lot, but a basic outdoor kitchen often starts around $5,000 to $15,000. More complete setups with plumbing, electrical work, masonry, and premium finishes can run $20,000 to $50,000 or more. The final number depends on size, utility work, and how custom the build is.
What should I avoid if I want the kitchen to get used?
Avoid oversized layouts, too many appliances, and materials that need constant upkeep. The best-used outdoor kitchens are usually simple, with enough room to cook, set things down, and clean up without crowding. If the design feels like extra work, it will sit empty most of the year.