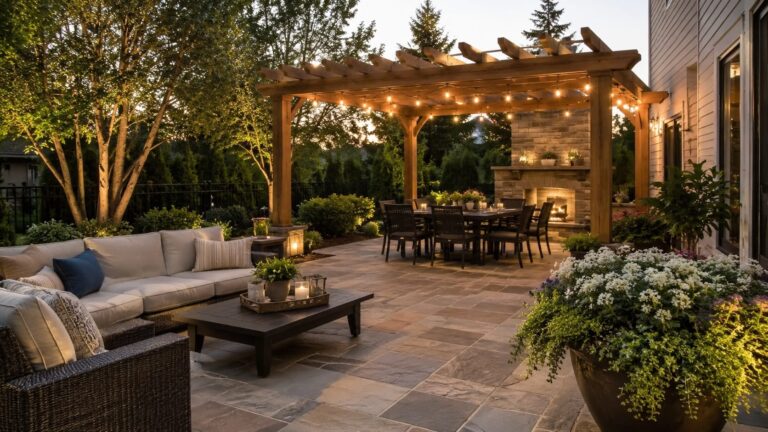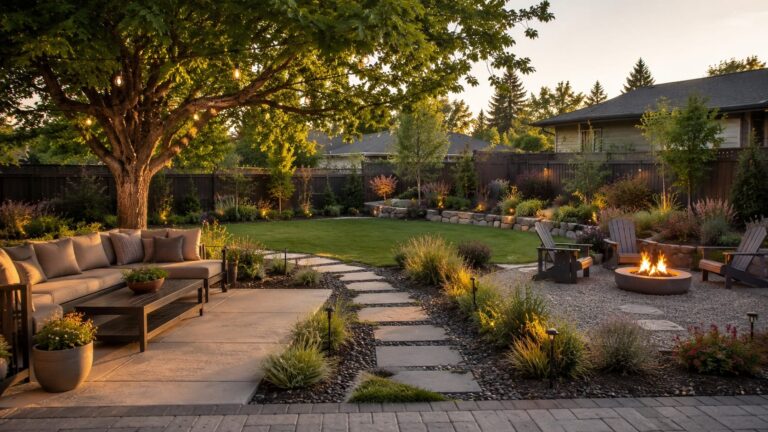
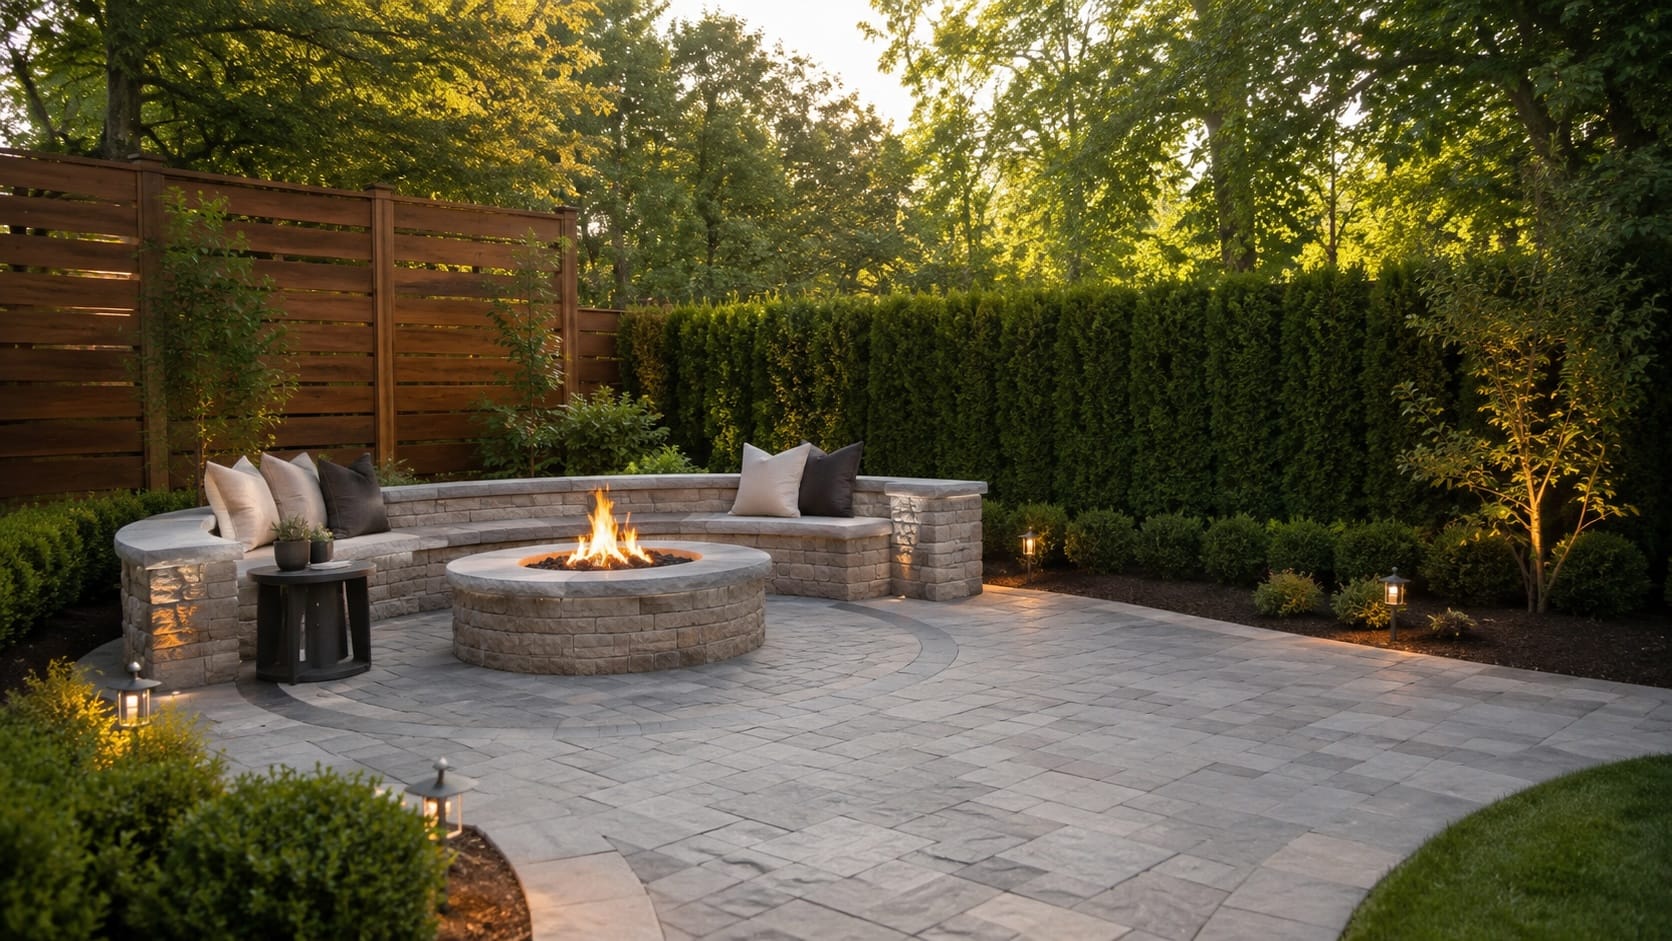
Your backyard does not need a full makeover, it needs one corner that feels safe, comfortable, and worth using. For most homeowners, the real problem is not the fire pit itself. It is the space around it, the smoke path, the seat height, the footing, and the fact that the area sits awkwardly in the yard.
A fire pit area can look great on Pinterest and still fail on your lot if it is too close to a fence, too far from the house, or set on ground that stays damp after rain. Pretty is easy. Usable takes a little planning.
The best fire pit setup is usually the one you can reach easily, sit around comfortably, and maintain without turning every weekend into a project.
If you start with comfort, clearances, and the actual shape of your yard, you can avoid the expensive mistakes that make people stop using the space after the first season.
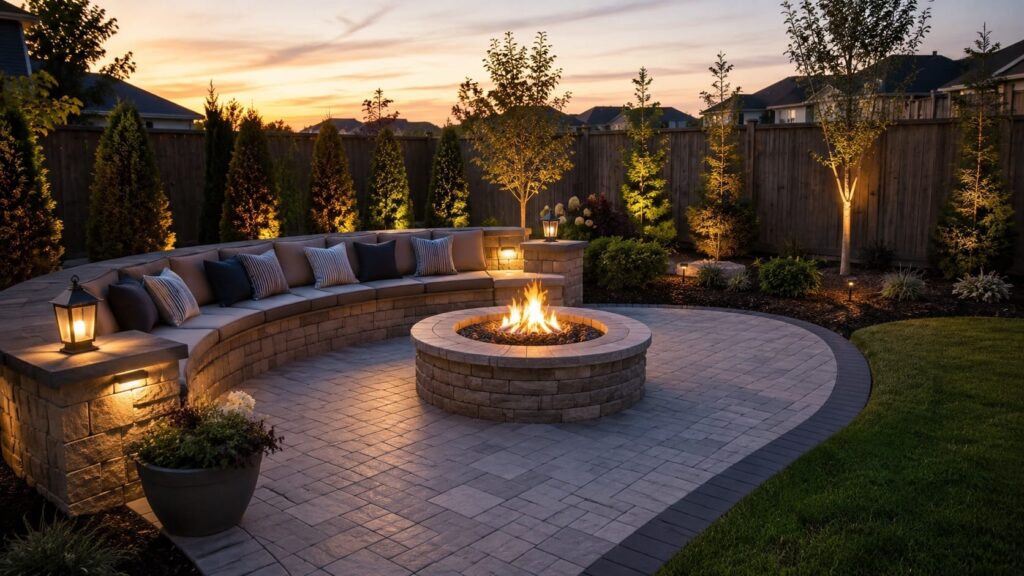
The safest fire pit starts with layout
Before you pick a bowl, ring, or built-in pit, decide where people will actually sit. A fire pit area works best when it has a clear center, safe edges, and an easy path in and out.
Start by looking at the yard at the time you would use it. Evening sun, wind direction, and nearby trees matter more than a pretty sketch. If smoke usually drifts toward the house or a neighbor’s fence, that spot is a bad fit. Comfort goes away fast when people are blinking through smoke.
Keep the pit far enough from structures, overhanging branches, and anything that can catch sparks. Many towns and HOAs have their own rules, so check those before you build. If you need permits, handle that first. It is cheaper than moving a finished patio.
A simple layout usually works better than a crowded one. Leave room for chairs to pull back, for someone to walk behind them, and for a safe border around the heat source. If your yard is small, a tighter setup can still work if the seating is honest about the space. See planning an outdoor living space for a bigger-picture approach.
A fire pit area that looks great but feels cramped will get used once or twice, then ignored.
Think in zones. One zone for heat, one for seating, and one for movement. That simple split keeps the area from feeling cluttered and helps you size the patio correctly before you spend money on materials.
Key takeaways
- Place the fire pit where smoke will not blow toward the house or seating area.
- Leave enough space for chairs, walking room, and a safe buffer around heat.
- Check HOA rules, local fire codes, and permit needs before you build anything.
Choose a fire pit that fits your yard
The right fire pit depends on how you use the yard, not on the prettiest photo you saved. A small patio in a windy area needs a different setup than a large, sheltered corner behind a fence.
If you want the simplest path, a portable fire bowl is the easiest place to start. It costs less, can be moved, and lets you test the space before you commit to a built-in feature. That matters if you are still figuring out where people sit and how smoke moves.
A fixed stone or metal pit feels more permanent and usually looks better with a finished patio. It also asks for better planning. You need stable footing, enough clearance, and a spot you will not regret after the first windy night. Permanent is great, unless it is in the wrong place.
Fuel choice changes the whole experience. Wood gives you the crackle and smell many people want, but it creates ash, smoke, and more cleanup. Gas lights fast and stays cleaner, which is useful if you want weeknight use and less maintenance. In colder climates or dry regions, local fire restrictions can also narrow your options.
If your yard is small, keep the footprint modest and let the seating do the work. A 36-inch pit often fits better than a large ring, especially on a 12 by 14 foot patio. For more layout help, see planning an outdoor living space.
The best fire pit is the one that matches your lot, your budget, and how much work you are willing to do after dark.
- Portable fire bowl, good for testing a layout and keeping costs down.
- Wood-burning pit, best if you want the classic fire feel and do not mind cleanup.
- Gas fire pit, best for easy use, cleaner operation, and more frequent weeknight sitting.
- Built-in stone pit, best for a finished look on a patio that is already well planned.
| Option | Typical cost | Best for |
|---|---|---|
| Portable fire bowl | $100 to $600 | Small budgets, testing a layout, flexible yards |
| Wood-burning pit | $300 to $2,500 | Classic fire feel, larger yards, lower fuel cost |
| Gas fire pit | $800 to $4,000 | Easy evening use, cleaner operation, busy homeowners |
| Built-in stone pit | $2,000 to $6,000 | Finished patios, longer-term use, custom look |
Build the area around real seating needs
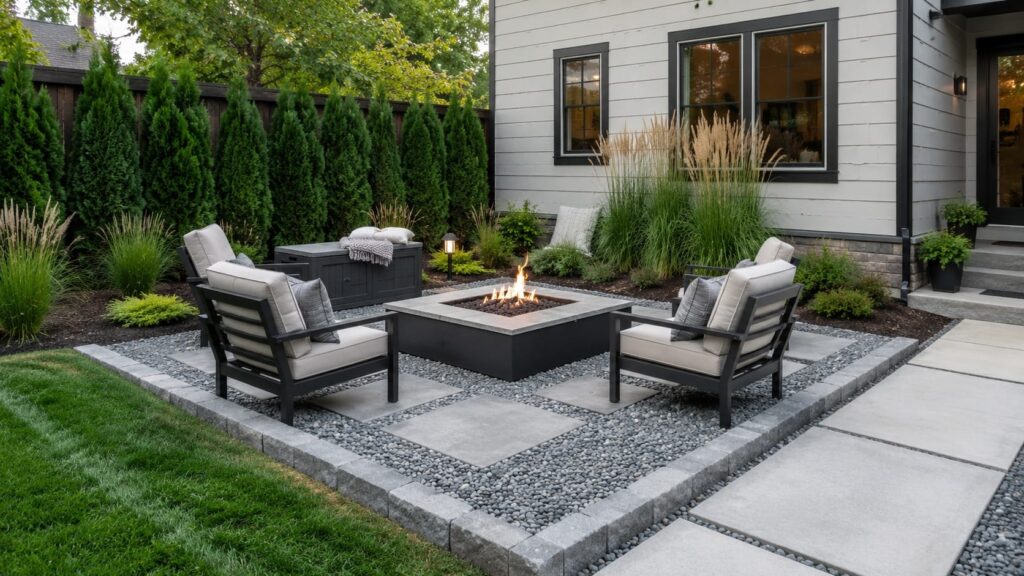
Start with the chairs, not the fire pit. If people have to squeeze past each other, drag chairs over uneven ground, or sit too close to the heat, they will stop using the space fast.
A good rule is to leave at least 3 feet of walking room behind chairs and a clear path to the house. Around the pit itself, give the fire enough breathing room so the setup feels open, not packed in. Comfort beats a crowded ring every time.
Think about how many people actually sit outside on a normal night. Four chairs may be enough for most backyards. A bench can work too, especially along a fence or wall, but it should not force guests to face the fire at an awkward angle. If you want more layout guidance, see planning an outdoor living space.
Keep the seating close enough to feel warm, but not so close that jackets smell like smoke after ten minutes. For many yards, that means a loose circle with room to stretch your legs. In a smaller yard, two chairs and a compact bench can feel better than six mismatched seats crammed around a pit.
- Leave space behind every chair so people can get up without bumping into the next person.
- Keep traffic out of the seating ring so kids, pets, and guests are not cutting through the middle.
- Use one clear entry point to the area instead of several tight paths.
- Match the seating count to real use, not holiday gatherings you host once a year.
If the ground slopes, fix that before you buy furniture. A level pad makes the whole area feel calmer and safer. That is usually a better first spend than decorative extras, and it keeps chairs from wobbling on the first night you actually sit out there.
Use materials that hold up outside
The ground under a fire pit matters as much as the pit itself. If you start with soft dirt, loose mulch, or a patch that stays damp, the area will shift, stain, and feel unfinished fast.
For most backyards, a gravel pad, pavers, or a concrete patio gives the cleanest base. Gravel is usually the cheapest and drains well. Pavers cost more, but they look finished and make chairs sit level. Concrete is simple and durable, as long as it was poured with drainage in mind.
Avoid anything that burns easily or turns muddy after rain. Wood chips can work in far edges of a yard, but they are a poor choice right around a fire pit. If you want a softer look, use a border of stone or brick and keep the heat zone clear. Pretty is fine, until it turns into cleanup.
Edging helps the whole area stay put. It keeps gravel from spreading into the lawn and gives pavers a cleaner line. In a small yard, that border can be the difference between a setup that feels intentional and one that looks temporary.
Nearby finishes should be practical too. A low retaining wall can double as extra seating. A short privacy screen can block wind and help the corner feel calmer. For more layout help, see planning an outdoor living space or backyard design ideas for smaller homes.
The best-looking fire pit corners usually start with the least glamorous part, the base. Get that right, and everything above it gets easier.
From the field
The yards that get used week after week are usually the ones where the hard parts were handled first. I see people buy chairs, lanterns, and decor before they check where the afternoon sun lands or how far the kitchen door really is. That is how a nice-looking corner ends up empty by midsummer. If the spot is too hot, too far, or too awkward to reach, nobody goes out there, no matter how good it looks in photos.
Add comfort without overbuilding
You do not need a full outdoor room to make a fire pit area feel welcoming. A few well-chosen details do more than a pile of expensive extras.
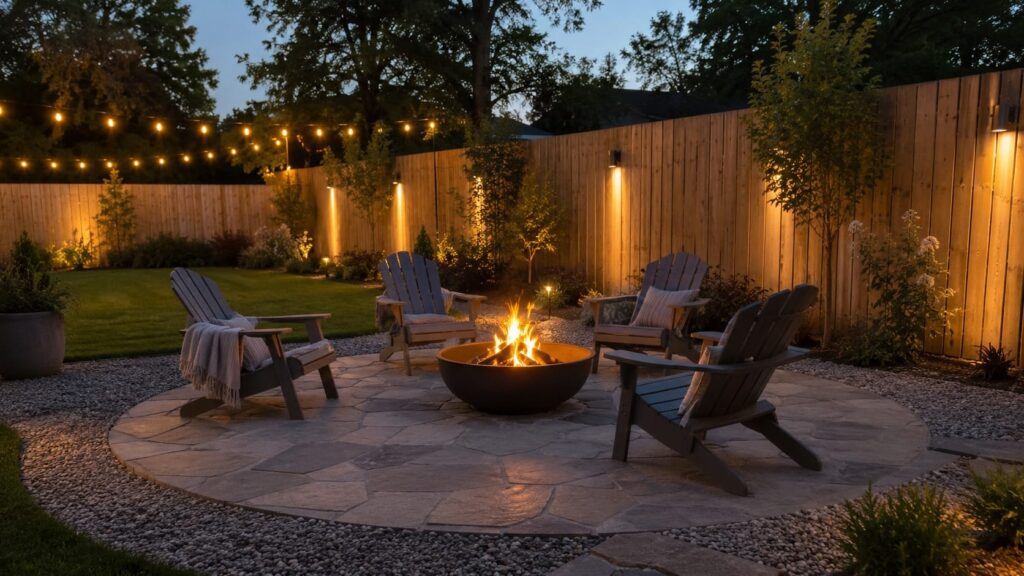
Start with soft light. A couple of low path lights, string lights on a nearby fence, or a simple lantern on a side table can make the space usable without turning it into a stage. Keep the light warm and indirect. Nobody wants to sit under a spotlight after dark.
Wind protection matters too. A fire pit that works on a calm night can feel useless when the breeze picks up. A fence, hedge, or partial screen on the windy side can make a big difference. If your yard gets strong gusts, place the seating so the wind is not blowing smoke straight into people’s faces. That one detail changes everything.
For styling, stick to a few durable pieces instead of filling the corner with decor. One outdoor rug, a couple of weather-safe cushions, and a small table for drinks are usually enough. If you want to keep the area low-maintenance, choose colors that hide dust and ash better than bright white.
A fire pit corner feels inviting when it solves small annoyances, shade, wind, lighting, and a place to set a drink. Fancy finishes come after that.
If your budget is tight, spend in this order: safety surface, seating, lighting, then extras. A simple setup with good proportions will get used more than a polished corner that feels awkward or exposed.
- Use one or two light sources instead of lighting every edge.
- Block wind on the problem side with plants, a screen, or a fence section.
- Add comfort pieces slowly so you can see what the space actually needs.
- Skip decor that breaks down fast in rain, sun, or ash.
If you are working with a small lot, the same rules still apply, just with less furniture and tighter spacing. For layout ideas that stay practical, see backyard design ideas for smaller homes.
Fire pit safety questions homeowners ask
A fire pit area works best when the seating is close enough to feel social, but far enough to stay out of the heat and stray sparks. A good rule is to leave at least 3 feet of clear space around the pit, then place chairs where people can move in and out without squeezing past each other.
If you are building on a budget, start with a simple circle or half-circle of chairs and one stable surface for drinks. Comfort comes from spacing, not from filling every corner. A 12 by 12 foot area can work for a small group. A 12 by 16 foot or larger area gives you more room to walk, set things down, and keep kids or pets back from the heat.
Current fire pit trends lean toward simple shapes, low-profile seating, and materials that look natural. That usually means stone, pavers, wood-look finishes, and muted cushions instead of flashy decor. Trends change. A safe layout with decent drainage and easy chair access does not.
The best fire pit corners are easy to use on a normal Tuesday night, not just on a perfect weekend evening.
For styling, keep it practical. A small outdoor rug, weather-safe cushions, and one side table are usually enough. If your yard gets a lot of ash or dust, choose darker finishes that are easier to keep clean. White looks nice for about five minutes.
What belongs around an outdoor fire pit depends on your lot, but the basics stay the same: nonflammable ground cover, stable seating, a place to set drinks, and something that helps with wind or privacy. Avoid loose fabric, dry mulch, and anything that can tip into the heat.
How to create a fire pit seating area?
Start with a flat, nonflammable base, then place seating in a loose circle with enough room to walk behind chairs. Add one table or stool for drinks, and keep the area open on the side where people will enter and exit most often. If the space feels cramped, it will not get used much.
What is the current trend in fire pits?
The current trend is toward simple, durable setups that feel relaxed instead of overly designed. Homeowners are choosing low seating, natural materials, and cleaner lines. Built-in benches and compact round pits are common, but the safer trend is still the one that fits your yard, your climate, and your maintenance level.
How to style a fire pit area?
Style it with a few useful pieces, then stop. A rug, cushions, a side table, and soft lighting usually do the job. Keep colors muted if you want the area to stay looking clean. The goal is a corner that feels finished without turning into extra work every time you use it.
What to put around an outdoor fire pit?
Put nonflammable ground cover, sturdy chairs, and a place to set food or drinks around the pit. Gravel, pavers, or concrete are common choices underfoot. Around the edge, use plants, a short wall, or a screen only if they stay clear of heat and do not block safe movement.
How far should chairs be from a fire pit?
Chairs should usually sit far enough back to avoid heat and sparks, often around 3 to 5 feet from the edge depending on the size of the pit and the type of fire. If people have to lean away from the heat, the chairs are too close. If the group feels disconnected, move them in a little.